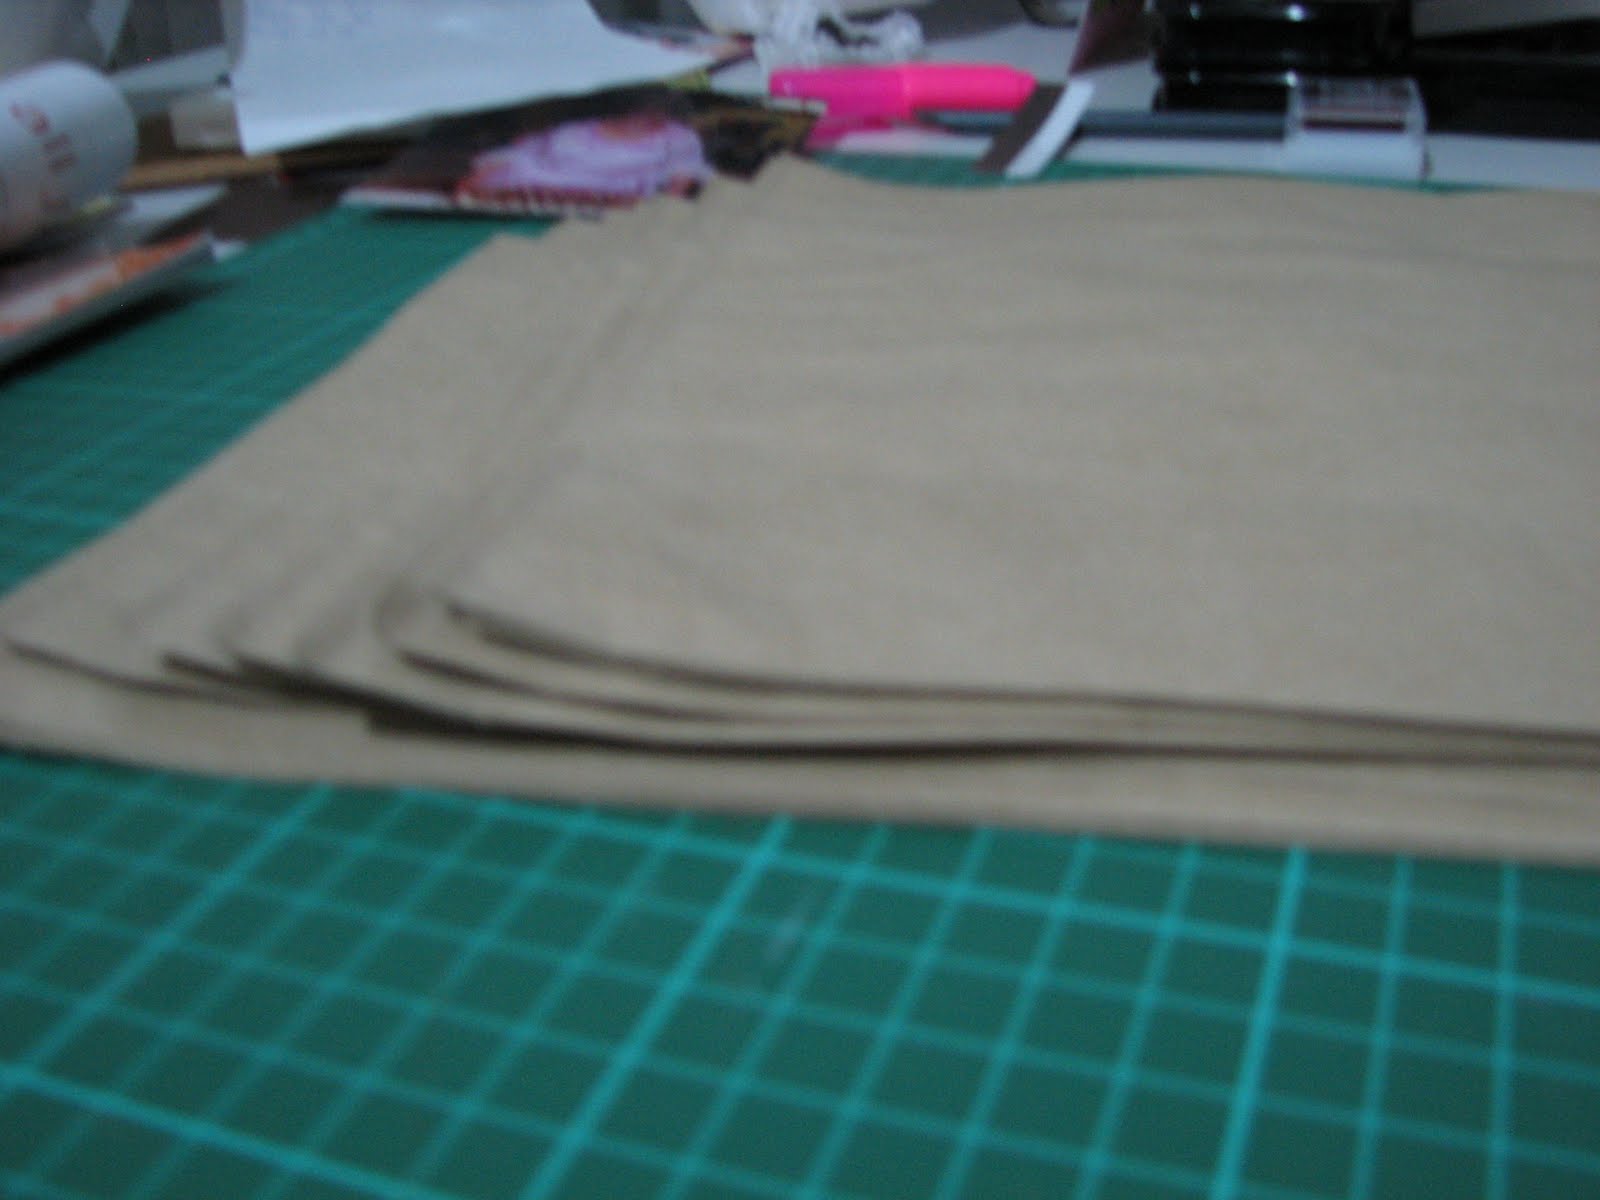
- some paper lunch bags (see photo below)
- some cardstock scraps (5 cm x 20cm)
- eyelets
- eyelet setting tools / Crop-A-Dile
- hole punch / Crop-A-Dile

Step 1.
Decide how many pages you will need for your album and whether you want the pages to be full or half size. Count out desired number of paper bags.
Step 2.
Layer the paper bags so that every second bag opens on the right. Fold all paper bags in half if you are making the half sized album. If you want to make the full size album like my Week in the Life album, do not fold the pages in half.

Step 3.
Cut a 5cm x 20cm piece of cardstock, in whichever card you choose

and score it just off centre so it folds nicely.

Place the folded card stock over the fold of your paper bags, or on the left hand side. The shorter side of the cardstock should be at the front.

Step 4.
Using your hole punch or Crop-A-Dile, punch your centre hole first. Keep your pages and cardstock straight while punching the hole.

Step 5.
Push an eyelet through the hole and set with setting tools or Crop-A-Dile. Continue until you have as many eyelets in place as you like. I usually set 5 eyelets which gives me lots of spots to anchor ribbon and beads.

Step 6.
Use cardstock and co-ordinating papers to decorate and strengthen the pages. The open ends of the bags can be used to keep notes, journalling or other things you have collected relating to the topic of your album. I always adhere ribbon on both sides of the openings so I can tie them closed. Be aware that small items will still fall out unless you fold the bag over as a feature before tieing it closed.
Below is an album I have made but not added photos to...yet.


I find paper bag albums satisfying to create and they look great too!!


This is a fantastic Idea!!
ReplyDelete